
I found this cabinet and thought it would be a good solution.
http://blog.jennasuedesign.com/2014/10/living-room-details-diy-cabinet-tree-stump-table-and-sofa-slipcovers/
I'd gotten a set of nail guns for Christmas 2014 but didn't get an air compressor until my birthday 9 months later, so this was my first chance to use my nail guns.
A nail gun is my new favorite tool.
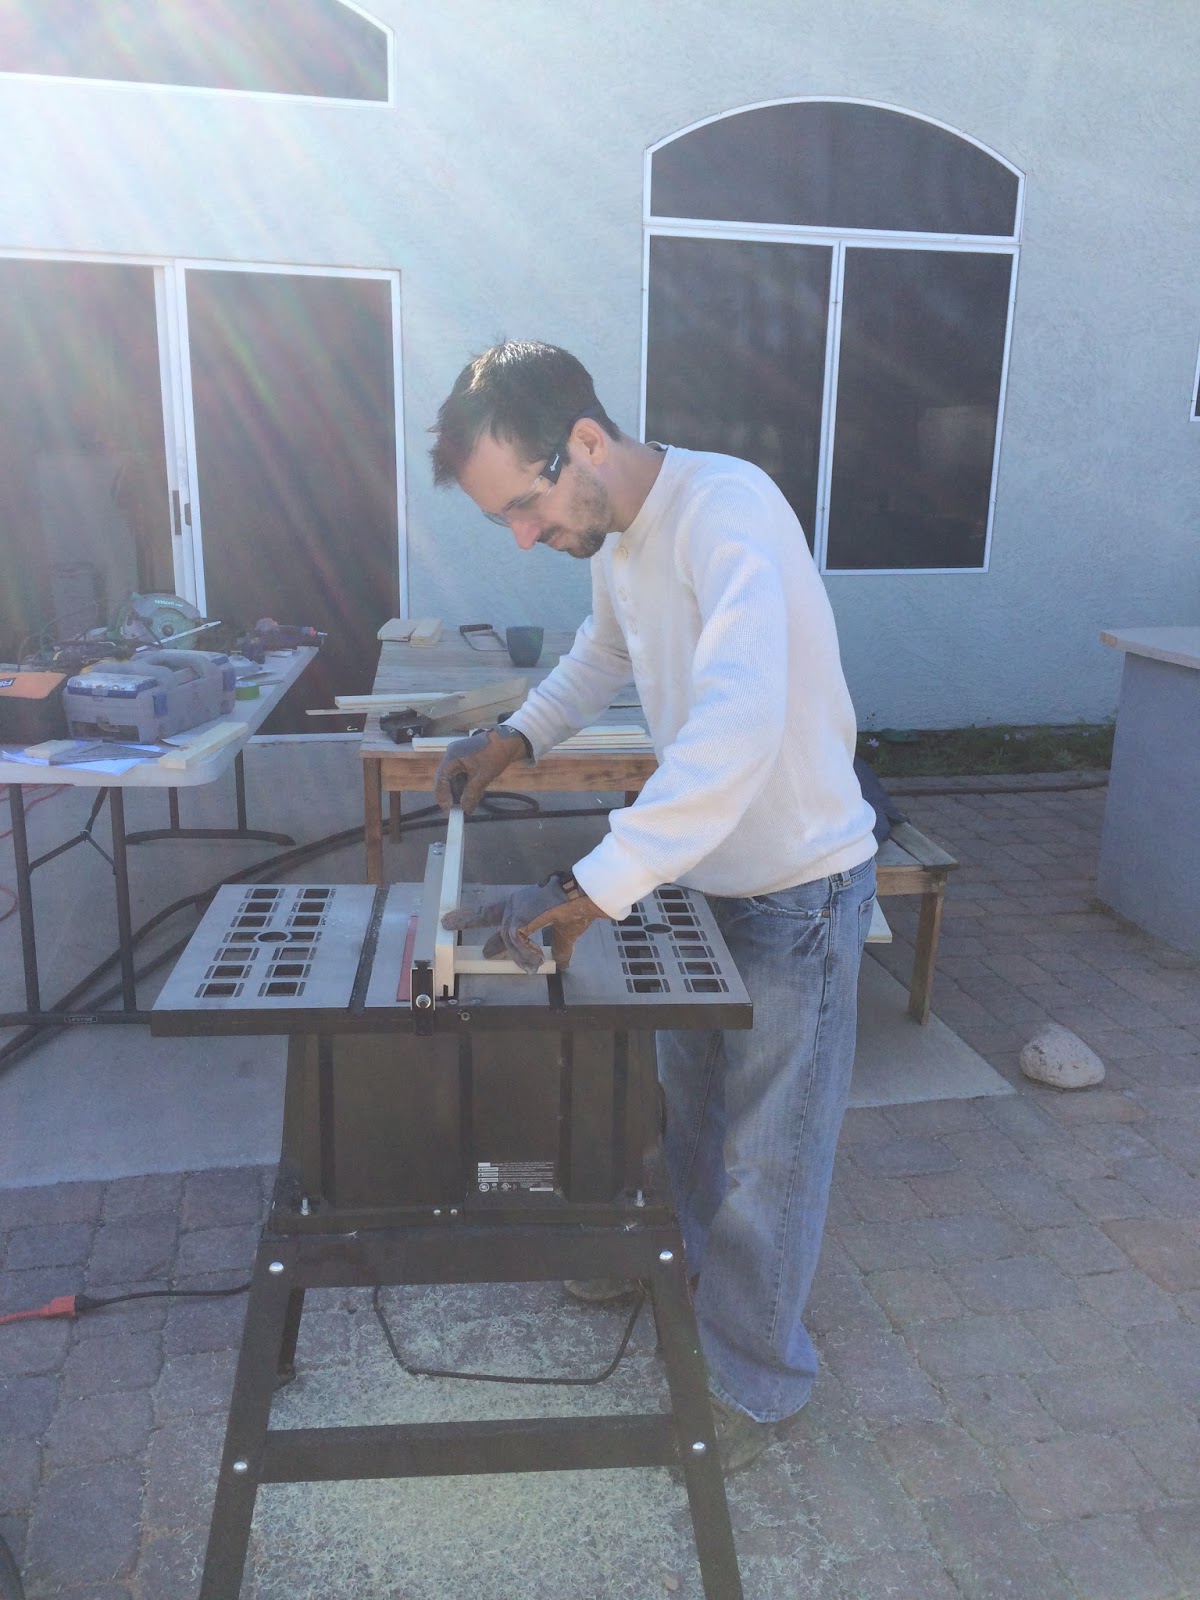
Joseph and I had a week off for Christmas. And when I say self-employed J had a week off, I mean that he worked twice as hard two weeks before Christmas so that he could take the time off. He is such a hard worker.
The point is we thought the week of Christmas would be a good time to do the project. We could take a day and knock it out.
Except the weather didn't cooperate. I've mentioned before my curse with rain and how it only comes to the desert when it is inconvenient for me. So it took over a week. Which doesn't sound too bad in theory, but when you take into consideration how many power tools and miscellaneous whatnot it required to build the cabinet...there was stuff everywhere that we had to keep dragging inside because of the rain.
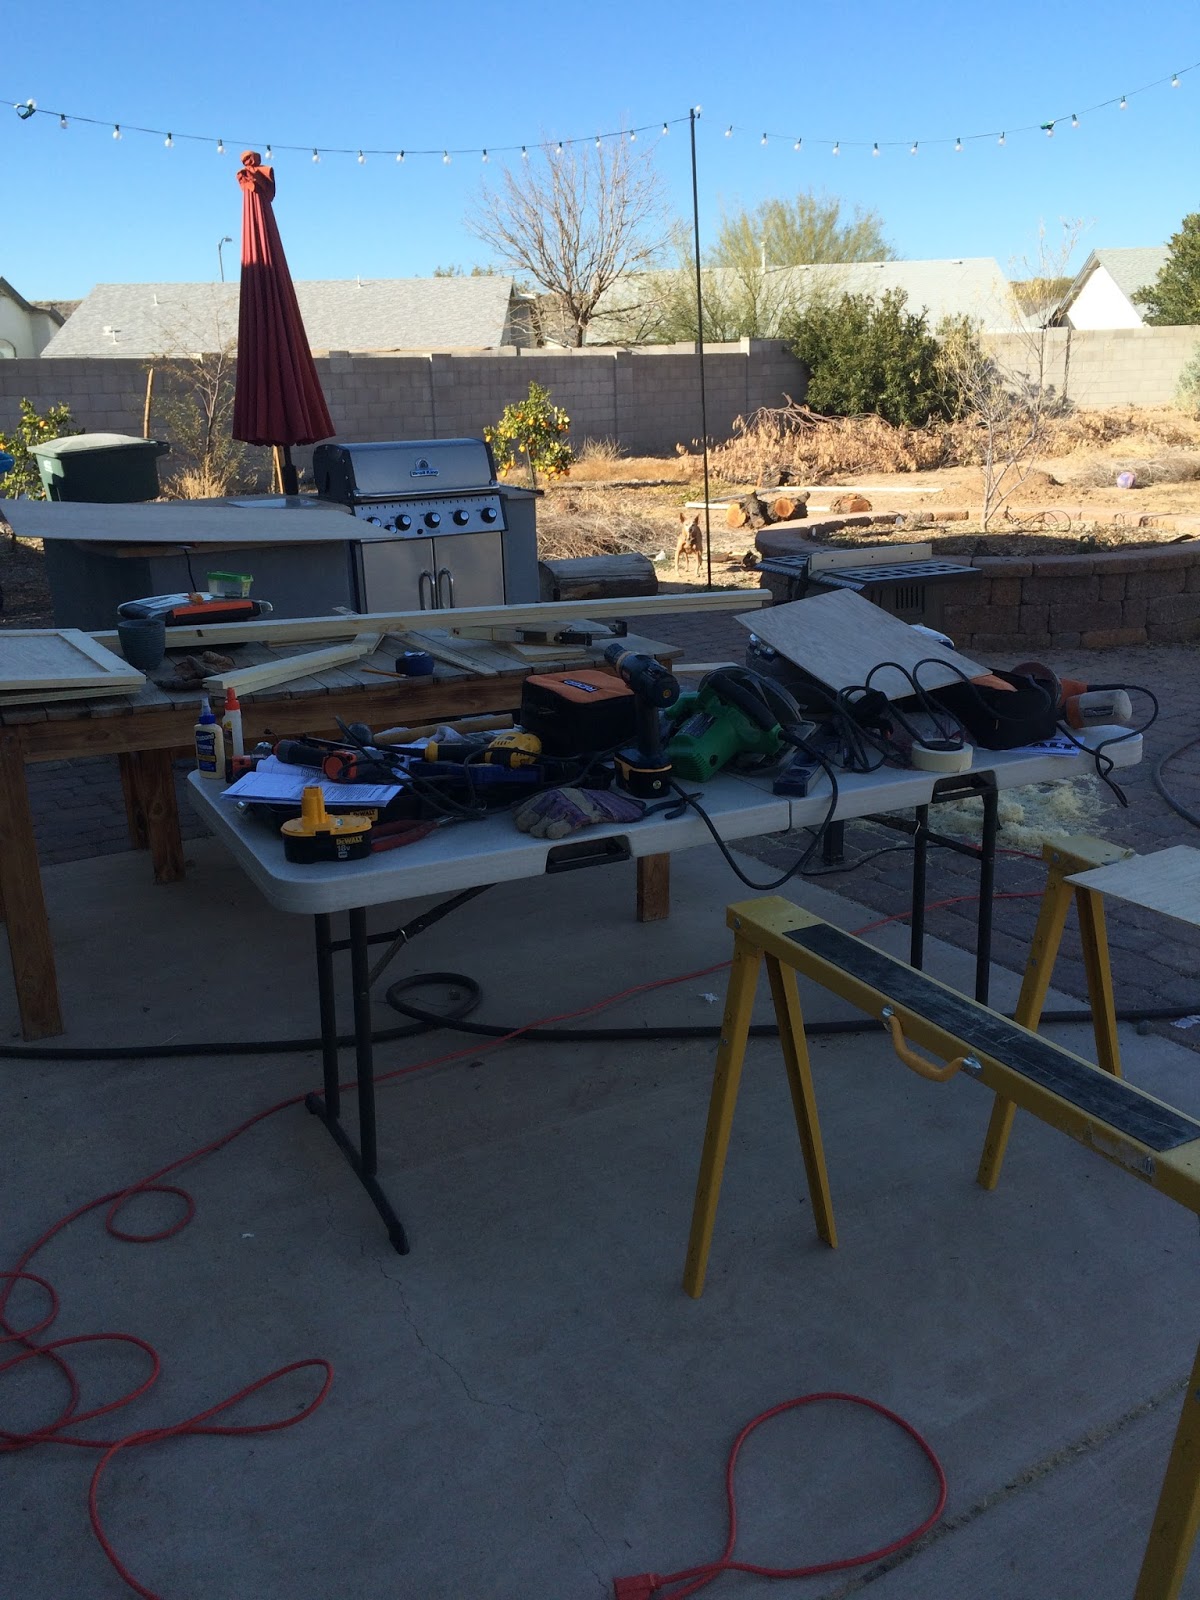


Plus it was freezing cold. Which maybe it should be, in some parts of the country in December. But we did not like it at all. Neither did the baby dog (can you see her in the above photo?) who wanted to stay near but was shivering.

This is about as far as we got. Then we took a day and figured we would make the doors. Super easy, right?
No.
I googled how to make doors and we wanted to do this:
It looked so easy!
Well it's friggin not. We cut everything but it wasn't working out. So I had the bright idea to cut off the end and just pocket hole screw it. Well the problem with that is that the pocket hole screw didn't have anything to grab to.

I don't even want to talk about the staples. That was an idiotic, stress-related, desperate attempt that failed miserably.
So we just ended up buying new wood, cutting new railings, pocket hole screwed the four pieces together, and just nailed the back piece on and covered the holes. The back doesn't look professional but the front looks fine.

And this is how it sat for a month. We didn't screw the doors on because we needed to stain it, so the doors are just sitting there for photo purposes. But otherwise they were put to the side. And the project sat while we recovered emotionally.

We finally picked out a stain, and I bought wood filler, which we mixed with the stain so the color would match. There were a few areas that had a bit of a gap (we used furring strips instead of expensive wood and I DO NOT regret my decision!) so I figured I could fill those in.
Lesson learned - don't do what I did above. You just have to sand it down once it's dried and it's a pain.


We chose a grey stain. I was a little nervous after the first application because I was not loving it.

It looked a lot better after the second application. Then it sat there again, waiting for poly.

It is unintentionally "distressed" because when we sanded for the poly, some of the stain came off. But I like it. It's done. I just need baskets for the top two shelves. This was not my favorite project, it was too time consuming and stressful. But I really like the finished product and I think it looks fabulous.
No comments:
Post a Comment