
I love crossing things off The List.
 We bought a piece of wood from Lowe's and had them cut it down to the size we wanted. We had measured our bed and figured out how tall we wanted it before hand. Here we are drilling some holes for our buttons. We thought a tufted headboard would look nice.
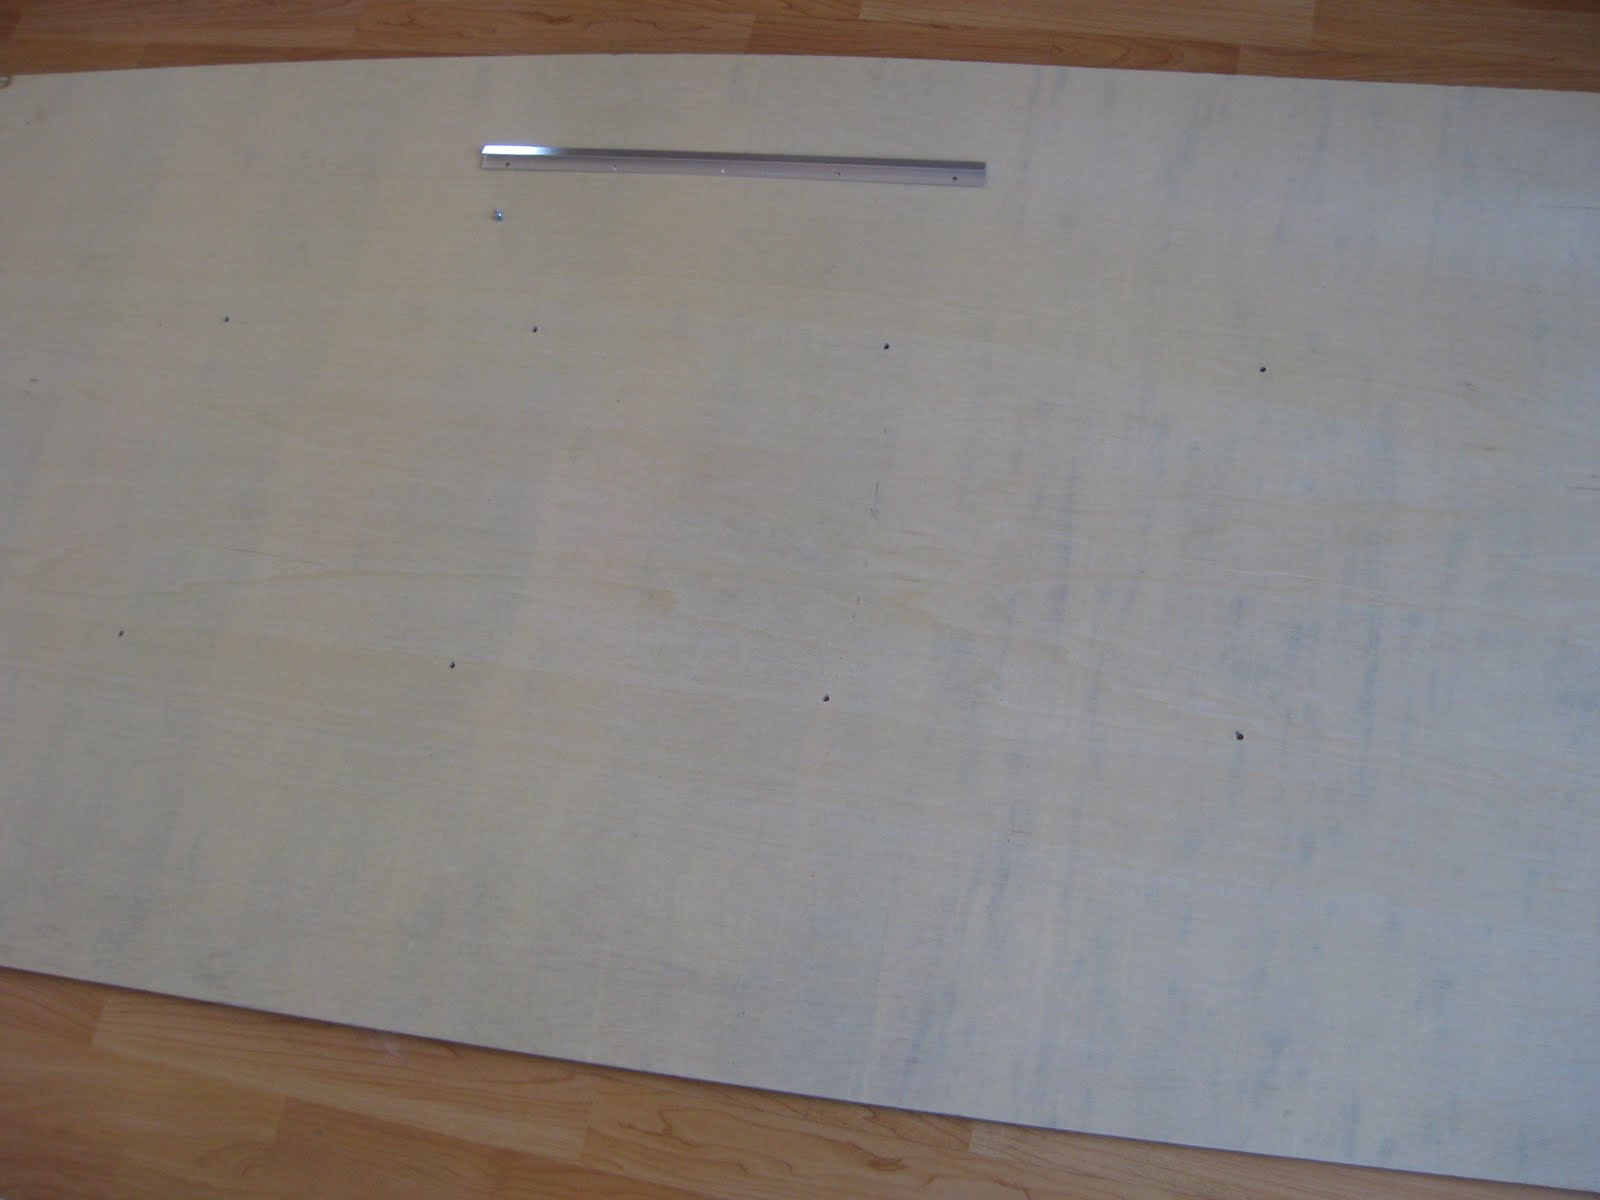 I did some research and we decided to attach it to the wall with a french cleat. We screwed it in first to make sure our wood wasn't too thin; I was afraid it wouldn't hold. You can see all of our holes for our buttons.
 We went to JoAnn's to check out the foam; JoAnn's only sells it 24 inches wide. We needed foam 35 inches wide. We went to Amazon and bought a nice large piece of foam there. And that's where we had our first problem; they sent us the wrong size. Joseph called the place and got everything figured out. After we had our supplemental piece of foam, we needed to cut the pieces down to size. We had to buy an electric knife; it cut it like butter. The easiest way to cut foam is to place it on your board and draw on it with a permanent marker, then cut down the line.
 We took it outside to spray adhesive on the board, and then put our foam pieces on top.
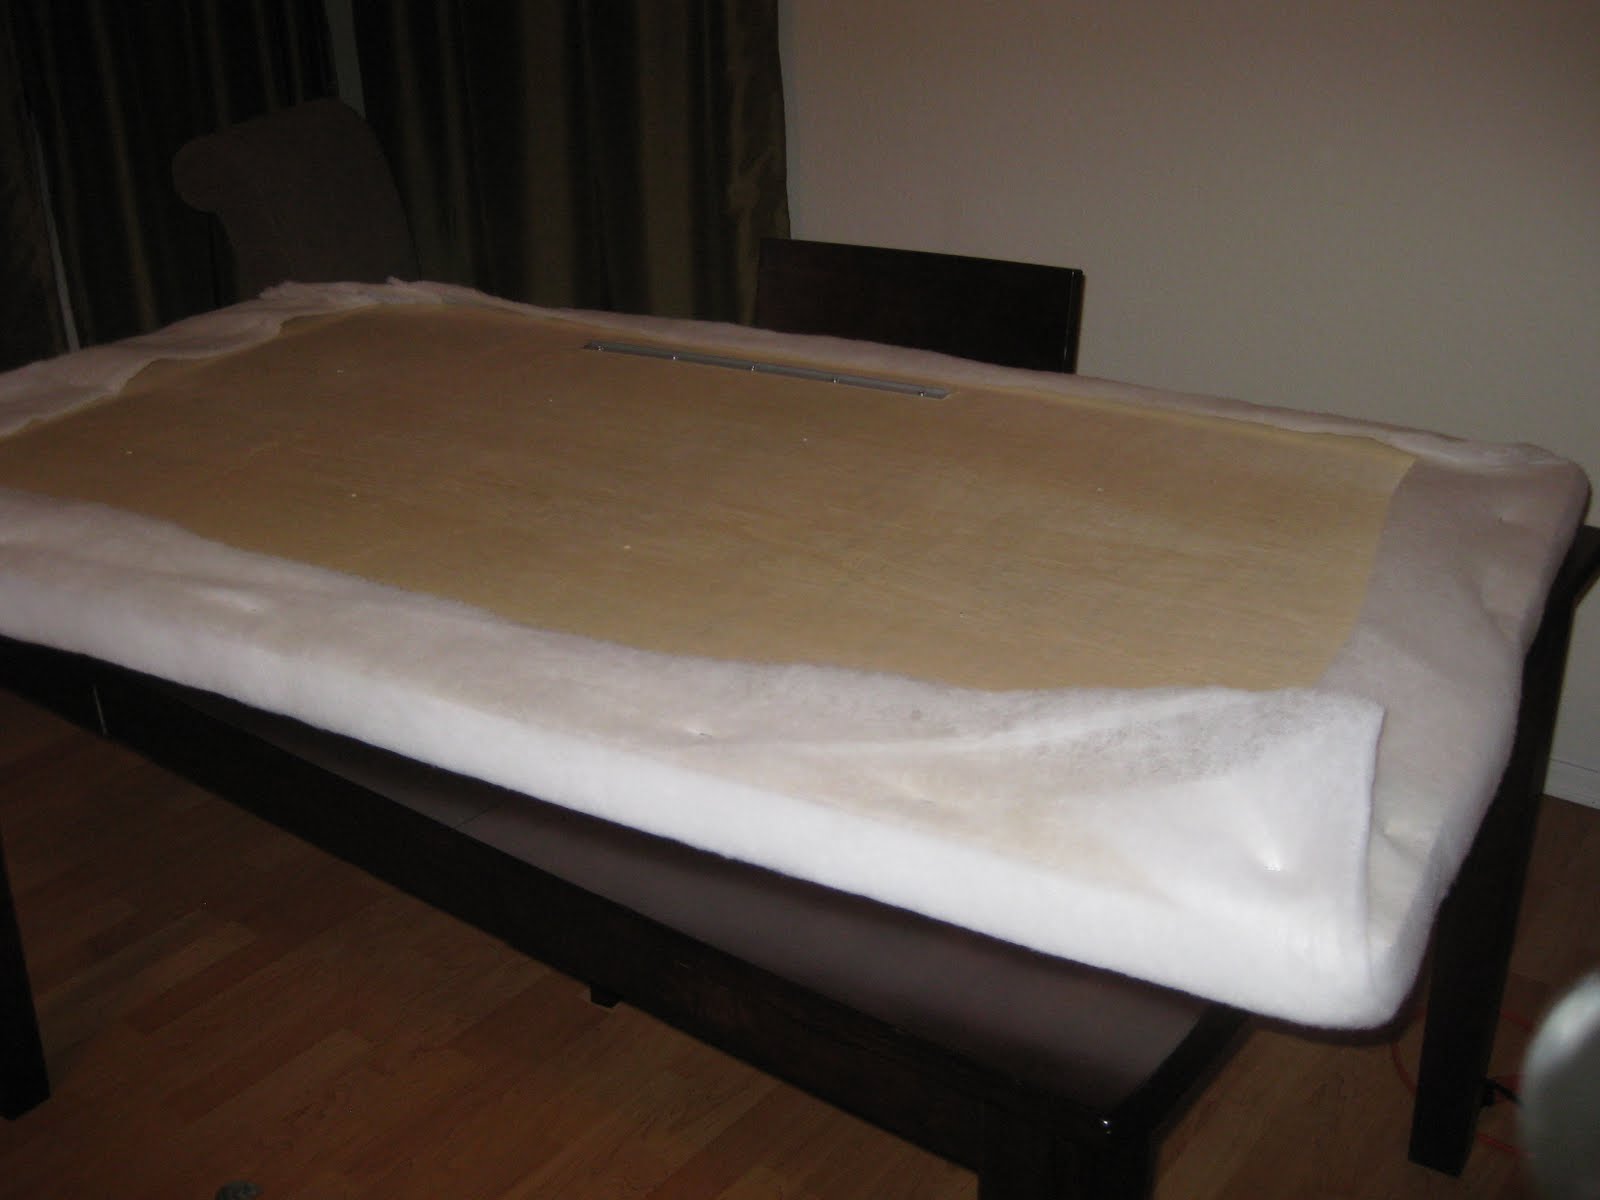 The second problem we had was the piece of batting we bought was too short. Luckily, my mom came to the rescue with an spare piece; I sewed the two together and it was just the right size. We stapled the batting to the back of the board.
 Once our batting was on, we did the same thing to our fabric. The trick with this is making sure it's lined up and pulled taut. It can really be tricky if your fabric has lines; you don't want it to be crooked. We would occassionally flip it over to check that everything looked alright.
 Sometimes my staples wouldn't go in all the way, so then I would hammer them. Please excuse the hair, I had just gone swimming at Mom's house.
 The corners can be tricky. You're supposed to wrap them like a present.
I suck at wrapping presents. Luckily, Joseph figured out how to make a nice corner.
 Here is the backside, all stapled snug.
 Here is the front before the buttons.
 If I could do one thing over, I would have drilled larger holes. You think you're putting your needle in straight, but through two inches of foam, batting, and thick fabric, somehow it gets lost, and when you try to stick it back through, you end up searching for your hole.
The buttons I made from a button-making kit. You can get them at JoAnn's. This way I could make buttons out of my same fabric so that it matched. It's pretty easy; you follow the directions on the packet. I secured the buttons to the back of my board with washers.
 I think the tufted headboard looks so nice.
 Here is the other part of the french cleat. It comes with a handy little level.
 Ta daaaaa.
 How do you think it looks?
I think it looks wonderful--very custom and professional. Interesting about the French cleat--never heard of one. I can't wait to see it in person. Also, Luke, Megan and kids are here. :)
ReplyDeleteI love it! Wow, you two are quite the do-it-yourself-ers! I had Klay build me a headboard at his brother's cabinet shop and I'm not exaggerating when I say it took him 2 years to finish it and get it home! (It really only took him a couple hours total, but took 2 years for me to actually get it in my room!) Now I'm waiting on an entertainment center that has been 9 months in the making. Maybe I should just take lessons from you and start doing my own stuff at home or making him do it at home so I can supervise and hurry him along :) I'm impressed and it looks awesome!
ReplyDeleteWow you guys are so crafty! I love it by the way! I've always wanted to make a headboard, but didnt know how... now I do :)
ReplyDeleteYou did it! It looks amazing!
ReplyDeleteYou're amazing! I love that you two do projects together and they always come out so well!!! Amazing :)
ReplyDeleteUnbelievable!! You guys are so stinkin' talented! Love it! It looks fabulous!
ReplyDelete