He recently informed me that he wanted to move one. I don't know why, I just do as I'm told (well, that's not really true...but I don't mind helping my Love with his projects since he is so wonderful at helping me with mine).
Since he was moving it anyway, he informed me he wanted to turn it into a Wicking Garden Bed.
Basically, you water it from the bottom and it wicks up. Sounded kind of weird to me, but J assured me that it is superior to watering it the regular way.
The things my dirt nerd decides he's going to do. I love it.
Here's one of the online websites that shows you how to build it:
http://www.mvcc.vic.gov.au/for-residents/environment-programs/my-smart-garden/~/media/Files/ForResidents/Environment/My%20Smart%20Gardens/Wicking_Bed_Fact_Sheet_Feb%202012.ashx
The pile of dirt there is where the garden box used to sit, next to the other garden box.
The box's new home, next to the shed.
We put down fabric-type stuff that's used to prevent weeds. It is to protect the pond liner.
Then we put down the pond liner - this holds the water in the bottom so that it can wick up to the plants.
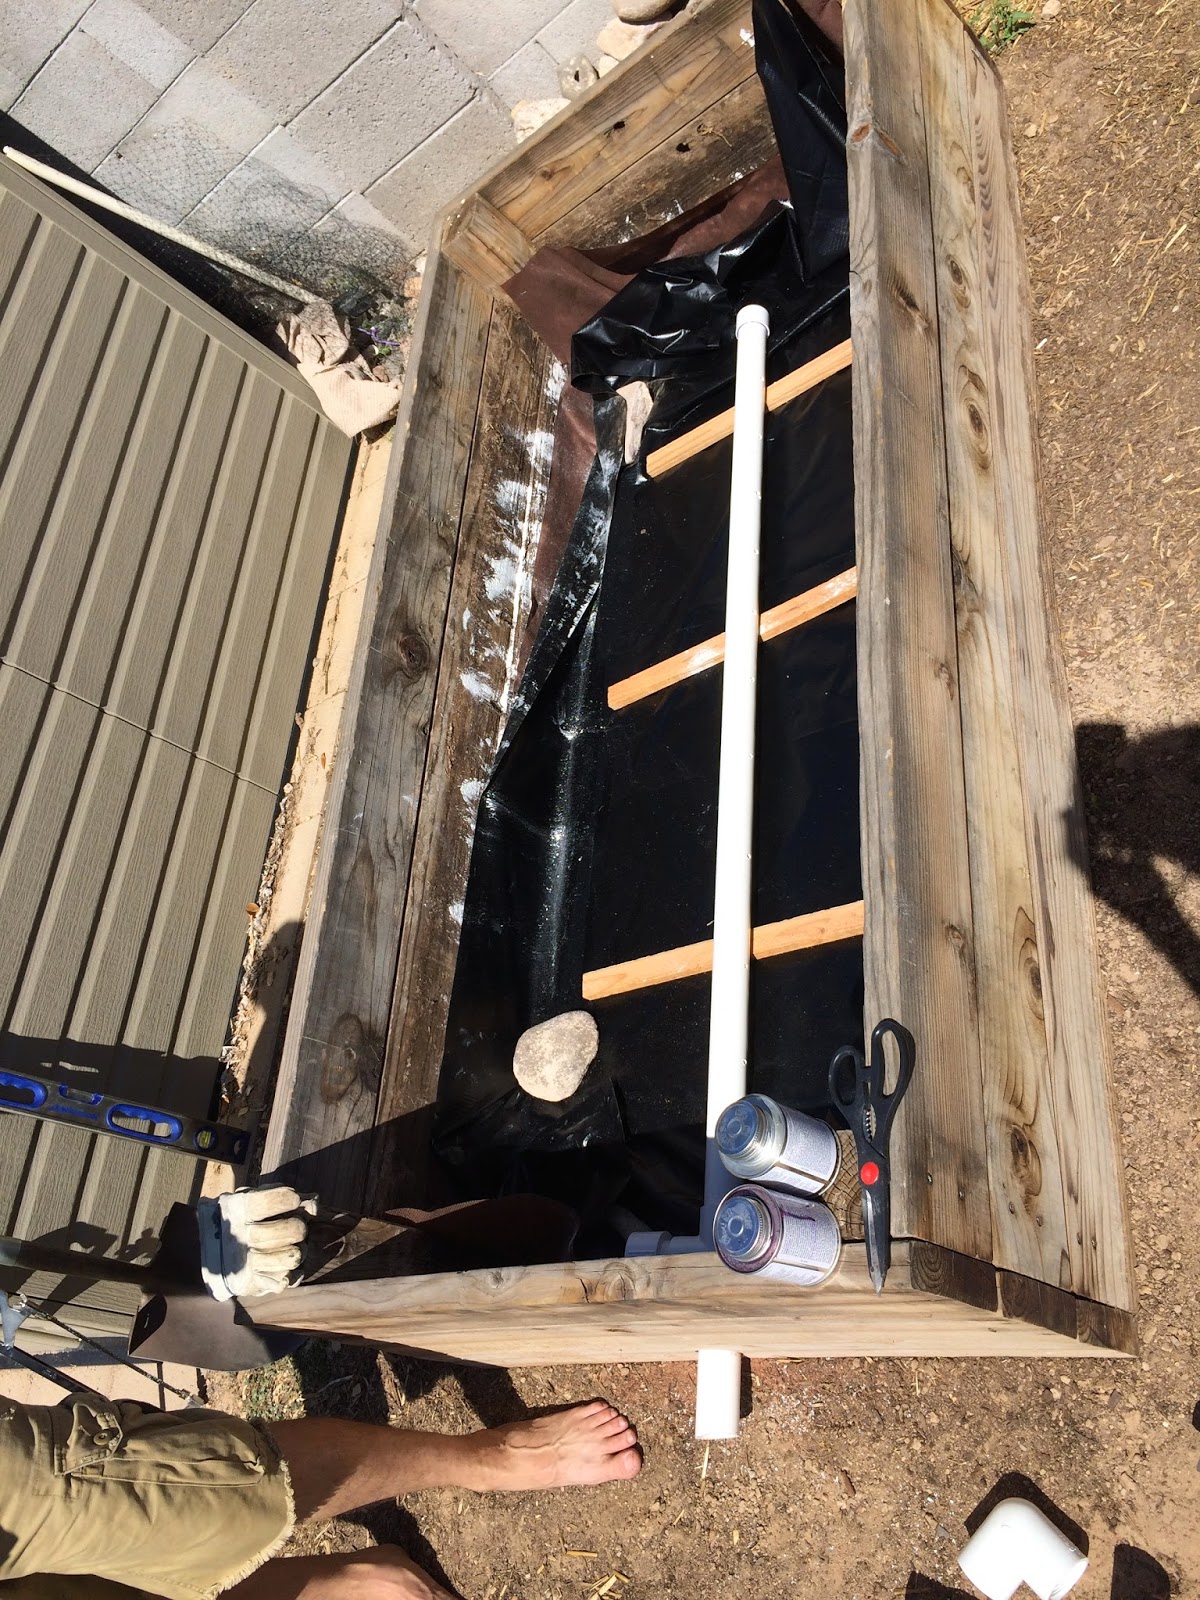
Cutting the PVC pipe that will be used for the watering system.
My man isn't wearing a shirt. There are perks to these projects.
This is where we made a mistake and connected the PVC to the outside...and realized we didn't put it through the pond liner (and the two fabric liners). Since we were trying to retain water, it was kind of a problem. We had to cut apart the newly glued PVC, go buy a new part, and re-glue it.
Here it is correctly running through the three liners. We glued it to the liner and used a hose clamp to secure it.
The wood on the bottom is to keep the PVC elevated a little because the water holes are on the bottom. It would be a bad thing to have the holes clog with dirt.
The first layer of rock.
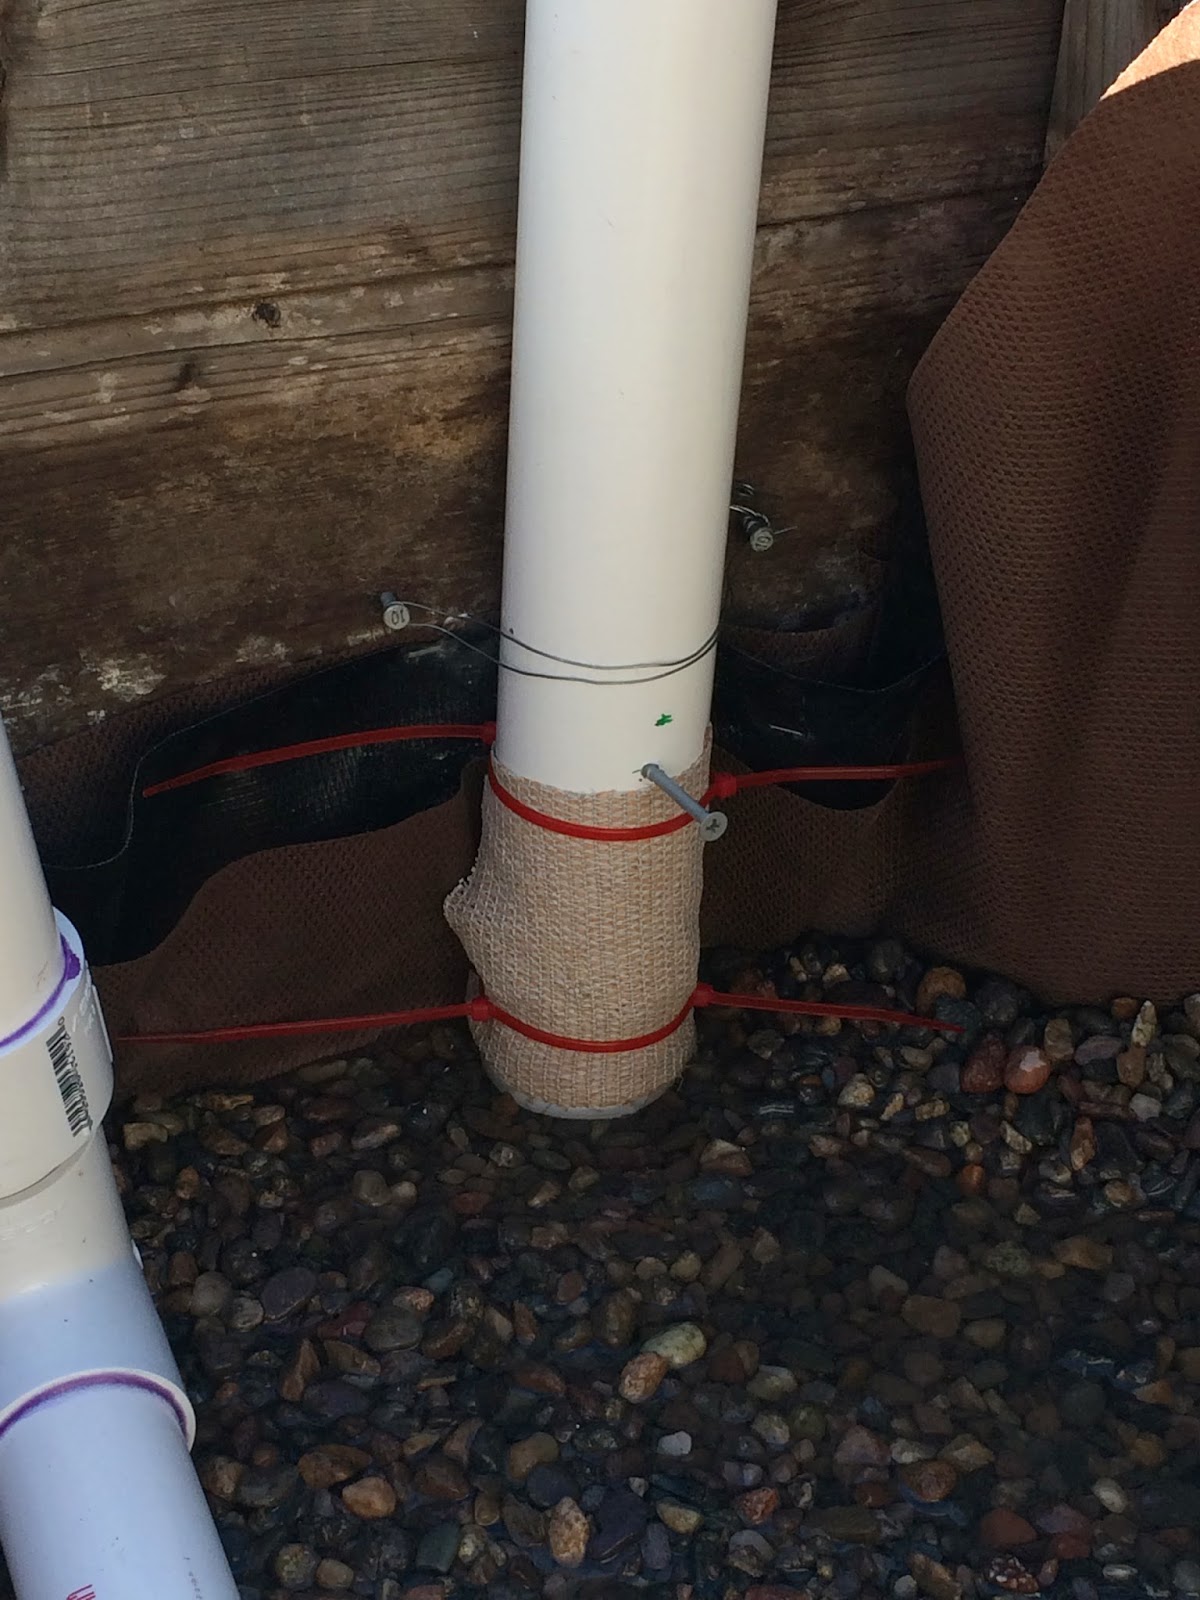
So we made an observation pipe.
It has a screw to mark when the water is too high. J drilled holes in it, then covered it with cloth that will allow water through but block out the dirt. Very high tech.
You can see where the hose goes to fill it with water.
All done. Below the overflow pipe, you can un-screw the end of that pipe to drain it.
It's funny to look through the old blogs and see how much the yard has changed. We've owned the house almost five years now. J still has big plans, so even more changes will be made.
I told him I'm not doing any work outside once it gets hot. I have been lobbying for an above-ground pool, so that will be the extent of my backyard adventures.
The weekend always seems to fly by. Probably because it is chock full of activity. We went to Singh Farms and got a truckload of compost, which meant we had to shovel it out the back of my truck and wheelbarrow it into the backyard (it's usually 9 1/2 wheelbarrows full). We went to a BBQ with friends Saturday night and had a lot of fun. I also got a little spring cleaning crazy and super-cleaned my bathroom, then cleaned out the garage and under my kitchen sink. I also finished a few crochet projects for Danielle's baby photo shoot. I cannot wait until that little baby is here. Especially now that I'm ready for him.


No comments:
Post a Comment