Sunday, September 12, 2010

You Light up my Life

In our living room we have two holes where there should be light fixtures. I have no idea why the previous owner took them down, but it has been on The List to get new light fixtures. This weekend, we finally went out looking and found a pendant for the front door, a nice track light for the other hole, and a chandelier to change out the ugly brass one in the kitchen. We tackled the first two this weekend.


Here's the hole above the door where we put the pendant.

Joseph screwed up the metal holder, and I shortened the chain.

The instructions to put the pendant together were pretty easy, and we managed this project in about 20 minutes. If I were to offer any advice, it is just to make sure you have all the little pieces strung up before you start screwing anything in. Otherwise, you may end up un-screwing some hard work. Luckily, there were no problems with this one.

I should have been suspicious. Nothing ever goes easy for us. Turns out light number two had a nasty little surprise for us.
Here's the second hole that needed a fixture. The fixture I found for this I fell in love with at first sight. Joseph had reservations about how he thought it would look, but because I loved it so much, he bought it for me.
Here's where we had our problem. The ceiling box hole was stripped; Joseph couldn't attach this metal plate, which is what would support the fixture.
I decided to take it down and see if we could replace it. Here's what it looks like; you can see the two holes where the screws were.
Here's the problem with my ceiling box. That metal piece up there where the box was screwed in is not a solid piece. It is separate from the bar up there. Which is fine for a new building; you can just hold it down and screw it in. But to do that, I would have to put a hole in my ceiling. Which left me searching for other options. We went to Lowe's and bought a new box for "existing" construction that was supposed to work, but it was too deep. It butted up against the metal bar up there and we couldn't get it in. We went to three different shops and they didn't have anything shallow enough.

One guy at Ace said, "Why didn't you just use a bigger screw?" Thanks Ace guy, great advice given too late. And to answer your question, I was afraid I would crack it. It is only plastic. Plus I had no idea that once I un-screwed it, it couldn't be put back up. Lesson learned.

Luckily, I thought up my own solution. I told Joseph we were going to bust it up.
Here's the new white box next to the old one. See how much longer it is?
And here's how we busted it...we took out the bottom strip to accommodate the metal bar in my ceiling.
We had to make our ceiling hole a little wider.
So here it is. A nice solution if I do say so myself. You can see the hole we made, so the bar wasn't a problem.
Joseph was able to put the metal plate back up and hook up the wiring.
Here's the mess on my floor.
Aaaand...my fabulous light! Love it.

Saturday, September 4, 2010

Sick Kitty, Broken Truck

The Humane Society is overflowing with animals, according to recent news reports. Joseph and I had been thinking about getting a playmate for Marley. Here's our new little baby, Lilly. That's the name they gave her and we didn't want to change it. Don't let the blue collar fool you; they didn't have any other color available. We need to get her a cute pink one.

She started sneezing not soon after we got her. That really freaked me out because they told us that if they aren't treated, cats can lose their sense of smell and then they won't eat because they can't smell their food. The earliest appointment we could make was Wednesday, which is my day off.


Right before I needed to take her to the vet, my truck overheated.

Marcus the truck. Pretty much the best truck ever. No car payment, decent gas mileage, very dependable...radio and a/c work...what more do you need?

Luckily my dad is pretty much the most Awesome Dad ever and can do anything. Seriously.

And he lets me help, which is fun.
We replaced the thermostat and did a radiator flush. Which takes a lot longer than you think because in between running the vehicle, you have to let it cool down, which involves a lot of waiting.
The bad news with the kitty is that to reschedule my appointment at the free vet (it's free if your animal is sick within 14 days after adoption) was going to take too long because they didn't have an opening until Tuesday. I was not waiting that long. We had to take her to a different vet and it was a pretty penny. The good news is that she is now on medication (that she hates) but she is feeling soooo much better. Instead of sitting on your lap and acting sick, she runs around after her toys and gets into normal kitten trouble.

It's a good thing we were keeping her separated from Marley (like we're supposed to, according to the instructions for "introducing a new kitten" that Joseph googled), because she's still contagious. But here's to hoping that Marley isn't jealous of her new sister. We'll find out once Lilly is fully healed.

Wednesday, August 25, 2010

My Wednesday Hair

Wednesdays are usually my day off. Because of a big conference at work, my schedule was changed and I have to work five days in a row.

It's only Wednesday and it's been rough. I'm so spoiled only having to work two days in a row at a time.

But this is a story about my hair. I only wash my hair twice a week if I can help it; more frequently if it is looking dirty. On Wednesdays, it tends to look dirty, so I braid it and put it up. Today I went in to work sporting my braided look.


I was on break, minding my own business, when a guy I don't know tells me he likes my hair. I smiled and said thank you. He went on to say, "You look like a Viking."

.........

........

Ummm......

I'm not sure what my face looked like, but the guy quickly tried to explain himself and got a little flustered, "You know, back in the day, when the ladies used to braid their hair...and stuff...."

I am going to assume positive intent and take the compliment.

But....a viking?

Saturday, August 21, 2010

Megan's Birthday and Visit

I only got a few pictures because my camera died. Hate when that happens.

Megan and her current youngest (she is currently preggo).

Happy Birthday Meg! With her three cuties. She is doing a really good job with them; they are all very sweet. I am amazed at her patience.

Kristi and Faith have a special bond. They like to craft. Look at them grinning at each other. Adorable.
Mom let me taste the homemade chocolate frosting. Delicious.

Girl after my own heart - she zeroed in on the sweets.

Four sisters together. Tried to get more, but it gets harder as everyone gets older and has work and different schedules.

My favorite part of the visit so far was when Meg's youngest looked at me, and said, "Are you my mama?" I told that story at work and my coworker responded with, "Well you do all look the same."

Blankets for Megan

Most of my family lives in Phoenix. My brother Mike is in the marines and they have him stationed in North Carolina right now. One of my sisters lives in Texas with her husband and three (going on four) kids. Megan and family were in town this week for a visit. Pictures of the family to come later (I am feeling too lazy to download the pictures I have just yet). Here is a blanket I did, with help from my mom, for my sister Megan. It's been done for awhile and waiting for her birthday. I thought I was going to have to mail it to her, but since she was visiting I was able to see her face.

It is a rag blanket. I think it's fun. I really love the colors.

It's long enough for her to stretch out in and it will still cover her toes. A feature that I felt was required. I have a blanket my mom made for me that I snuggle under when I watch TV, and if it wasn't long enough to cover my toes it would drive me crazy.

My second gift for her was for her baby. I loved the duck blanket I made for my friend Larissa so much that I made another one.

She doesn't know if the baby is a girl or boy yet, so the duck blanket is appropriate either way.

Sunday, August 15, 2010

How to Make a Headboard

Making a headboard for our bed has been on The List for quite some time. Now I can cross it off.

I love crossing things off The List.

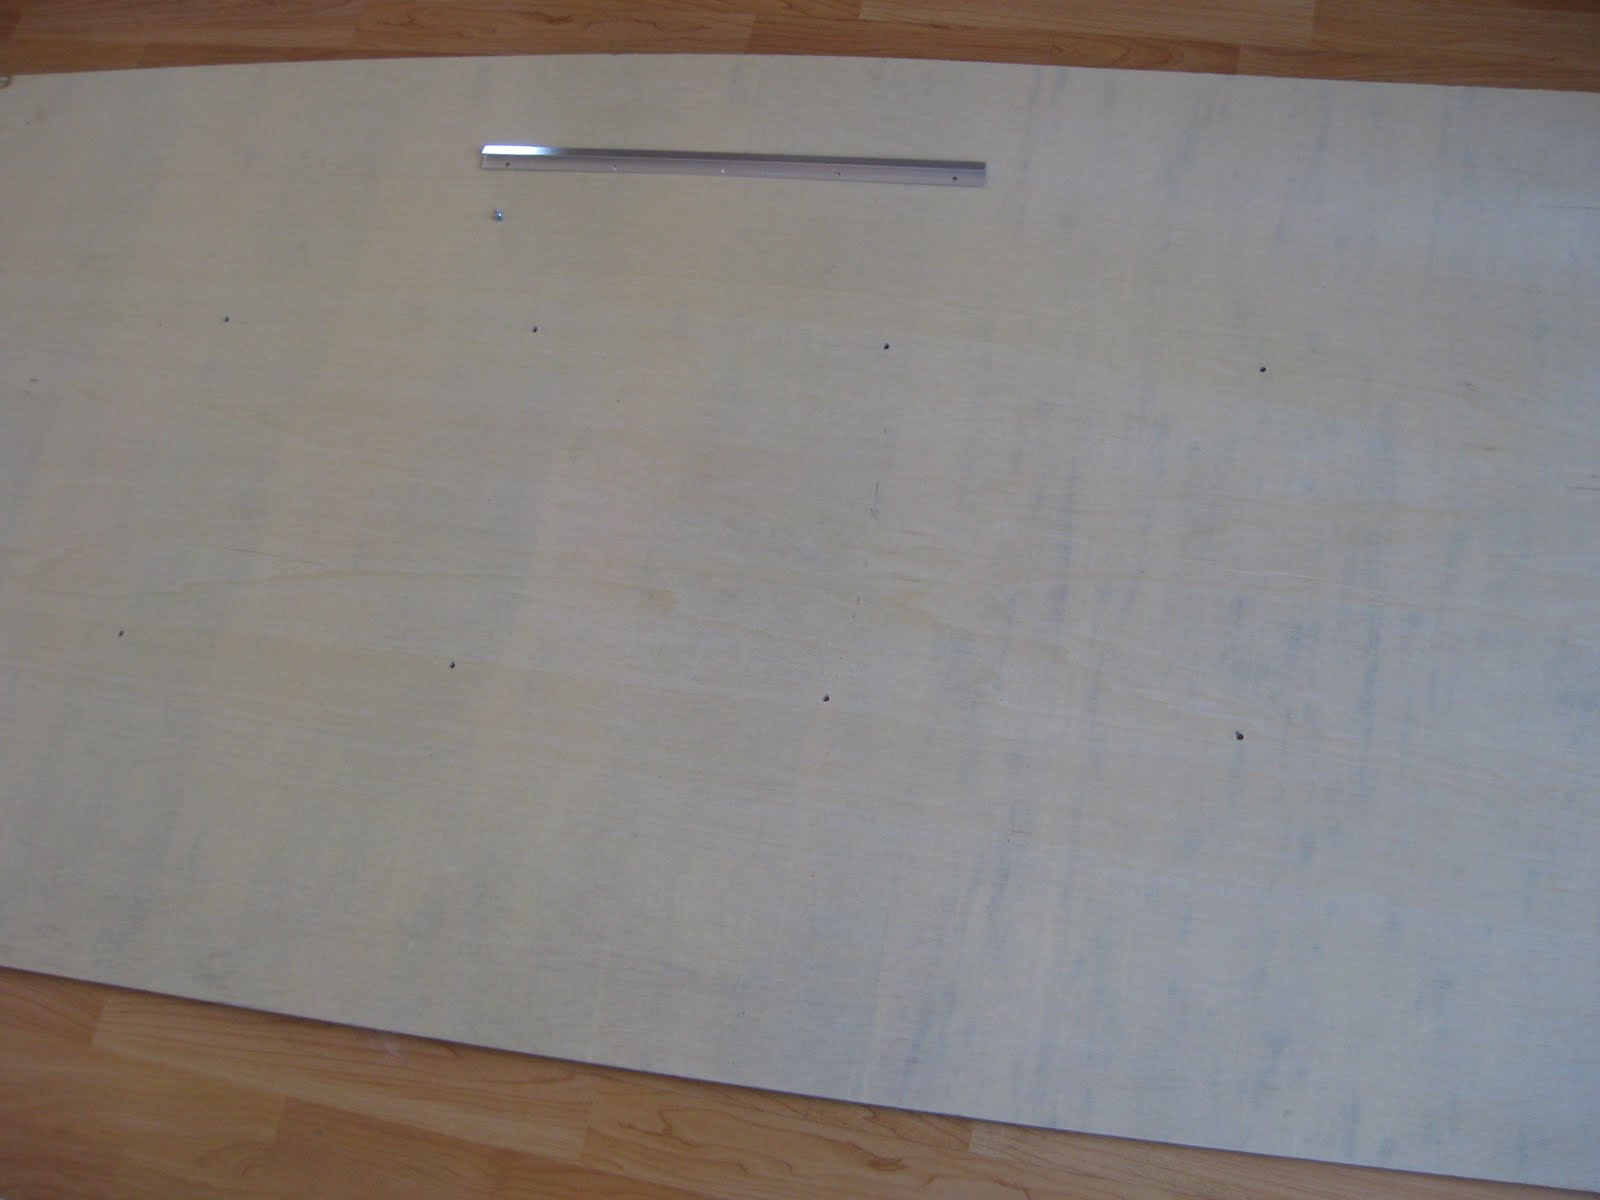
We bought a piece of wood from Lowe's and had them cut it down to the size we wanted. We had measured our bed and figured out how tall we wanted it before hand. Here we are drilling some holes for our buttons. We thought a tufted headboard would look nice.

I did some research and we decided to attach it to the wall with a french cleat. We screwed it in first to make sure our wood wasn't too thin; I was afraid it wouldn't hold. You can see all of our holes for our buttons.


We went to JoAnn's to check out the foam; JoAnn's only sells it 24 inches wide. We needed foam 35 inches wide. We went to Amazon and bought a nice large piece of foam there. And that's where we had our first problem; they sent us the wrong size. Joseph called the place and got everything figured out. After we had our supplemental piece of foam, we needed to cut the pieces down to size. We had to buy an electric knife; it cut it like butter. The easiest way to cut foam is to place it on your board and draw on it with a permanent marker, then cut down the line.

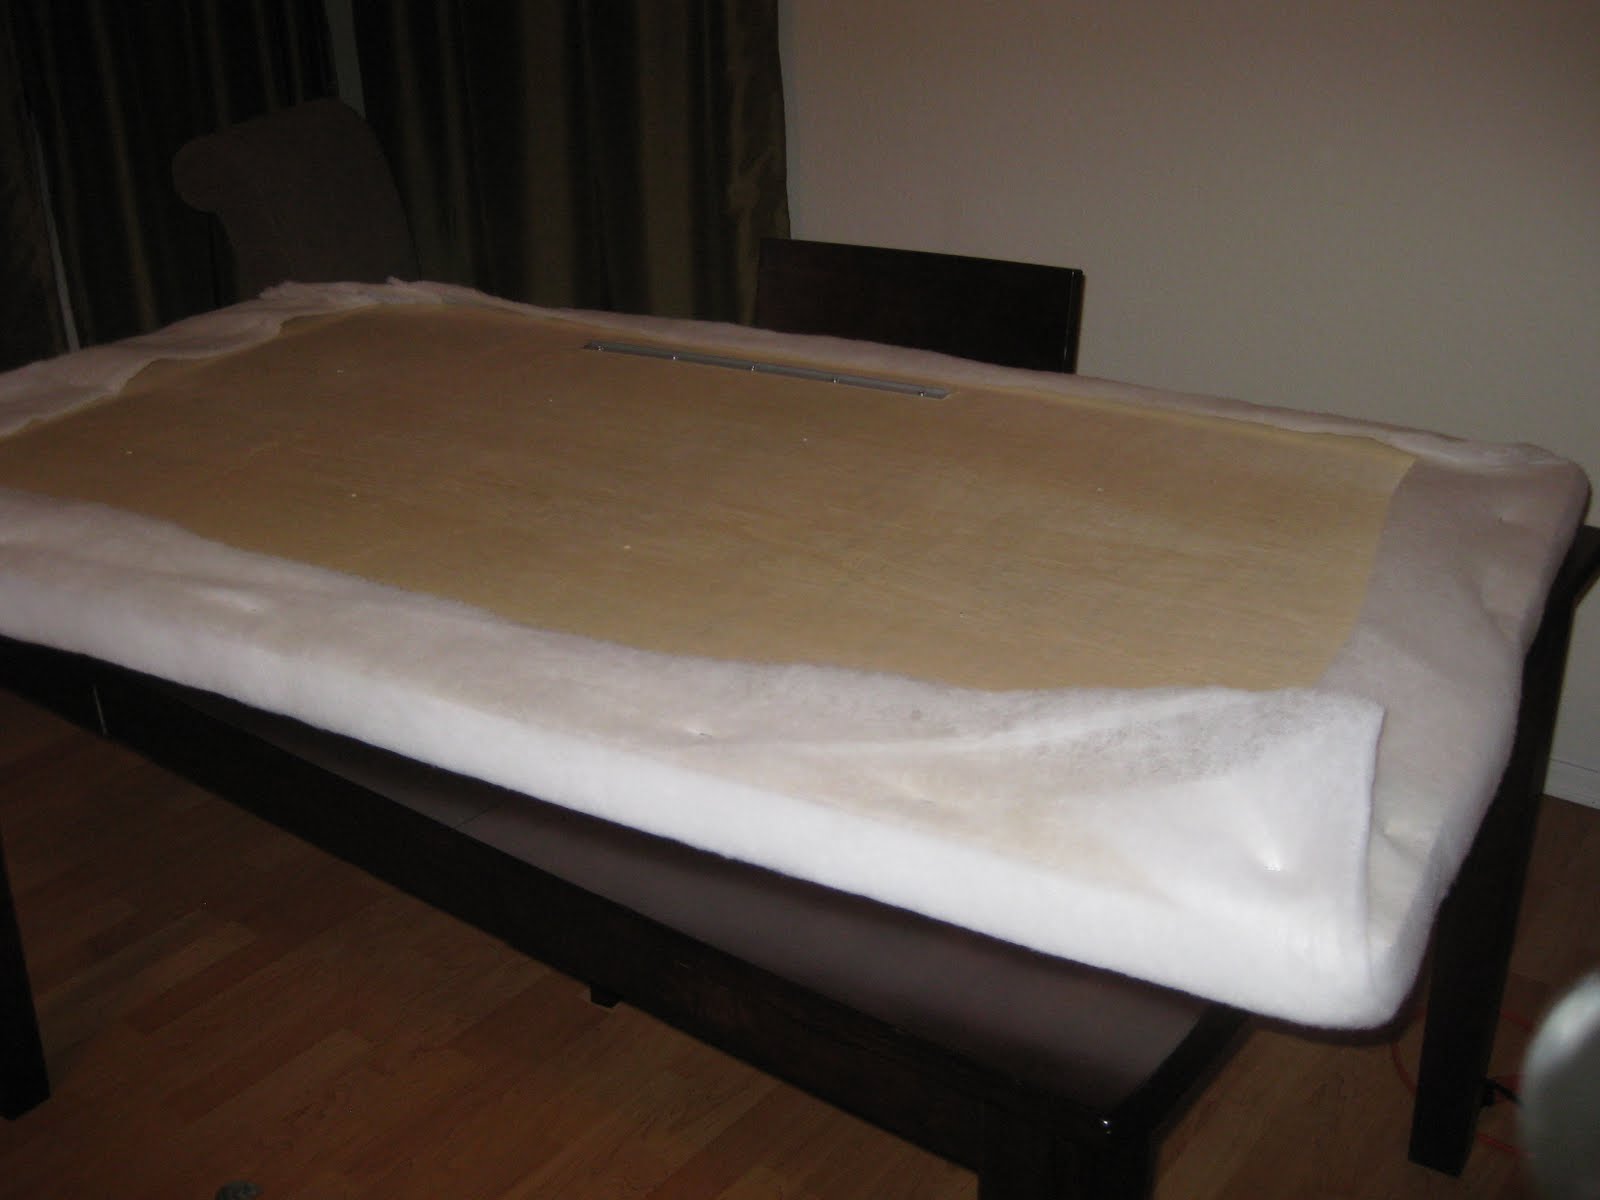
We took it outside to spray adhesive on the board, and then put our foam pieces on top.

The second problem we had was the piece of batting we bought was too short. Luckily, my mom came to the rescue with an spare piece; I sewed the two together and it was just the right size. We stapled the batting to the back of the board.

Once our batting was on, we did the same thing to our fabric. The trick with this is making sure it's lined up and pulled taut. It can really be tricky if your fabric has lines; you don't want it to be crooked. We would occassionally flip it over to check that everything looked alright.

Sometimes my staples wouldn't go in all the way, so then I would hammer them. Please excuse the hair, I had just gone swimming at Mom's house.

The corners can be tricky. You're supposed to wrap them like a present.

I suck at wrapping presents. Luckily, Joseph figured out how to make a nice corner.

Here is the backside, all stapled snug.

Here is the front before the buttons.

If I could do one thing over, I would have drilled larger holes. You think you're putting your needle in straight, but through two inches of foam, batting, and thick fabric, somehow it gets lost, and when you try to stick it back through, you end up searching for your hole.

The buttons I made from a button-making kit. You can get them at JoAnn's. This way I could make buttons out of my same fabric so that it matched. It's pretty easy; you follow the directions on the packet. I secured the buttons to the back of my board with washers.

I think the tufted headboard looks so nice.

Here is the other part of the french cleat. It comes with a handy little level.

Ta daaaaa.
How do you think it looks?

Sunday, August 8, 2010

Turning a coat closet into a pantry

We have a coat closet in our kitchen. I don't know how that happened. It's kind of strange. Joseph and I have been meaning to turn it into a pantry...how hard could it be to add some shelves?

Right? Right??

Oh yeah, because all of our projects are that simple.

Here's the before shot. We took out the rod. Because honestly, who needs a coat closet in Phoenix anyway? We took our measurements and decided how we were going to space the shelves (taking into consideration what was going to be placed on them) and the length of wood needed.
Wood filler. Because this was going to be a professional project done by my Dad's standards.

We went to Lowe's and got one MDF board ($29) and three boards of furring strip for the supports ($2.18 each) and had Lowe's cut it down. Even though they claim not to do "exact cuts," they have always hit the mark when I've had wood cut there. The wood fit perfectly.

Aaaand here's our first problem. I don't know why I just assumed I would have the correct amount of studs in the wall to be able to screw into. Nope. I had one stud on one wall. So I had to go back to Lowe's and buy some anchors. Luckily, the people at Lowe's know their stuff, and the guy got me the kind that can hold up to 100 pounds. I love my people at Lowe's. But how do you make sure you are screwing into your anchor when you can't see it (because your piece of wood is covering it up)?

Joseph and I came up with a system. He would level the board, and then working as a team, we would drill three pilot holes into the wood, and draw a pencil mark showing where to line the wood up.

You can't really see it in this picture, but the middle hole is just a hole because there's a stud there, and on either side of it there are two anchors.

Problem number two: when we got to the top shelf supports, we ran into studs. Even though the stud finder was not lighting up. It was puzzling. But good news, right, now we can just screw into a stud, yea! Except that it busted our screws. Again, really puzzling. We managed to fix that dilemma but using smaller screws. Luckily, we had some in our stash, so it was not another trip to Lowe's (as much as I like that place, I try not to go more than three times in one project). It was a good thing we own a dremmel, because we had to cut out the broken screws.

Problem number three was when our drill died. A couple hours later after a good charge, we finally got all the shelf supports up.

Joseph painted the interior and the shelves, and now the shelves needed to be worked so that the edge was rounded. We don't have a router, so I worked it over with the sander.

Joseph nailed the shelves into place, and I got out the caulking gun. It is my job to caulk, because Joseph doesn't like to get his hands dirty. This is probably the reason he's a computer nerd and not a car fanatic. (But a really handy, manly computer nerd.)

Here is the shelf pre-caulk.

Post-caulk. Once I filled over those screw heads with wood filler and we painted again, it really looked good. You're going to have to take my word for it.


Seriously, we're professionals. It only took the entire weekend.